
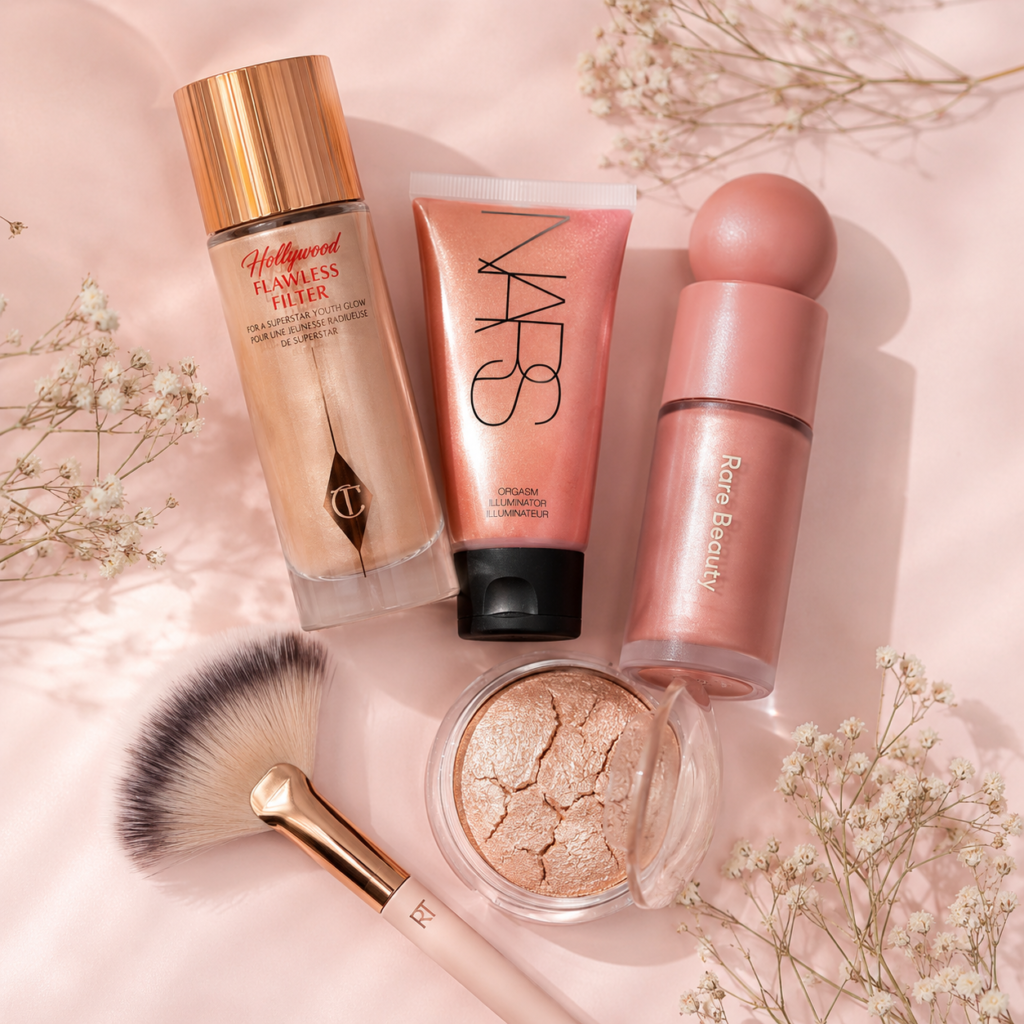
Here’s the deal, I spent three months applying highlighter the wrong way before a makeup artist finally corrected me mid-tutorial. I was packing on too much, too low on my cheekbone, and using the wrong brush entirely. The result was a greasy-looking stripe, not the lit-from-within glow I was after. Learning how to apply highlighter correctly changed everything, and the fix was genuinely simpler than I expected. I now rely on the NARS Orgasm Liquid Highlighter as my starting point, the formula blends without patchiness and suits medium skin tones beautifully.
How Highlighter Works
Highlighter contains light-reflecting particles, typically mica, silica, or synthetic pearl, that bounce light away from the skin’s surface. This creates the optical illusion of raised, forward-set areas. Because of this, placement is everything.
Light travels in a straight line. So wherever you place highlighter, that area will visually project forward. For most people, that means the high points of the face: tops of cheekbones, the brow bone, and the center of the nose bridge. Seamless integration with your base depends entirely on applying it over a smooth, primed surface.
The particle size in the formula also matters. Finer shimmer particles read as a glow. Chunkier glitter particles read as, well, chunky. That said, both have their place, finer for daytime, larger faceted particles for low-light evenings.
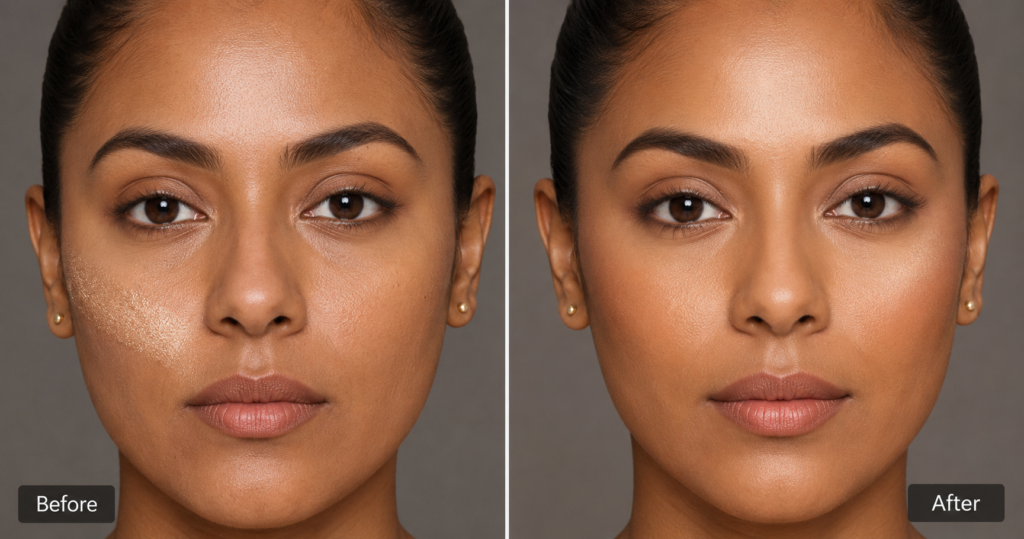
See the Difference
| Feature | Before (Common Mistake) | After (Optimized Approach) |
|---|---|---|
| Placement area | Swept across the full cheekbone, too low and wide | Tapped only on the top of the cheekbone, directly under the outer eye |
| Product formula | Heavy chunky glitter compact applied every day | Finely-milled powder or liquid highlighter matched to skin tone |
| Application tool | Flat synthetic brush that packs on too much product | Fluffy tapered fan brush or fingertip for controlled diffusion |
| Layering order | Applied directly on bare skin before foundation | Applied as the final step after setting powder or blush |
| Result | Greasy stripe look, emphasizes texture and pores | Natural inner-glow effect that reads as healthy, lit skin |
How to Apply Highlighter Correctly
Prep Step: Start with a moisturized, primed face. Highlighter clings to dry patches and sits inside pores when skin isn’t smoothed first. Apply foundation, concealer, and any powder before you touch the highlighter, it goes on last.
- Find your placement points. Look straight into a mirror and smile gently. The apple of your cheek puffs up slightly, you want highlighter just above that, on the top of the cheekbone. In addition, consider the inner corner of the eye, the center of the upper lip’s cupid’s bow, and the brow bone just below the tail of your brow.
- Pick the right formula for your skin type. Liquid and cream highlighters tend to work better on dry and normal skin because they melt into the surface. Powder formulas, however, generally suit oily skin more reliably since they don’t emphasize shine already present.
- Load your brush correctly. Tap, don’t swipe, a fan brush into your product. I use the Real Techniques Bold Metals Fan Brush for this step. Swipe off any excess on the back of your hand first. This single step eliminates the muddy, overloaded look most people complain about.
- Apply with a pressing motion, not a stroke. Press the fan brush lightly onto your cheekbone high point and rock it slightly side to side, about a one-inch zone. Furthermore, for liquid formulas, your ring finger is honestly better than any brush; the warmth of your skin helps it melt in seamlessly.
- Blend the edges. A clean fluffy brush swept around the outer edge of the highlight blurs any hard lines. No one should be able to see where the highlighter starts and stops. That transition is what separates a glow from a stripe.
- Check in different lighting. Bathroom lighting lies to you. Step into natural light or check the highlight under a harsh overhead bulb, if it still looks blended there, you’re good.
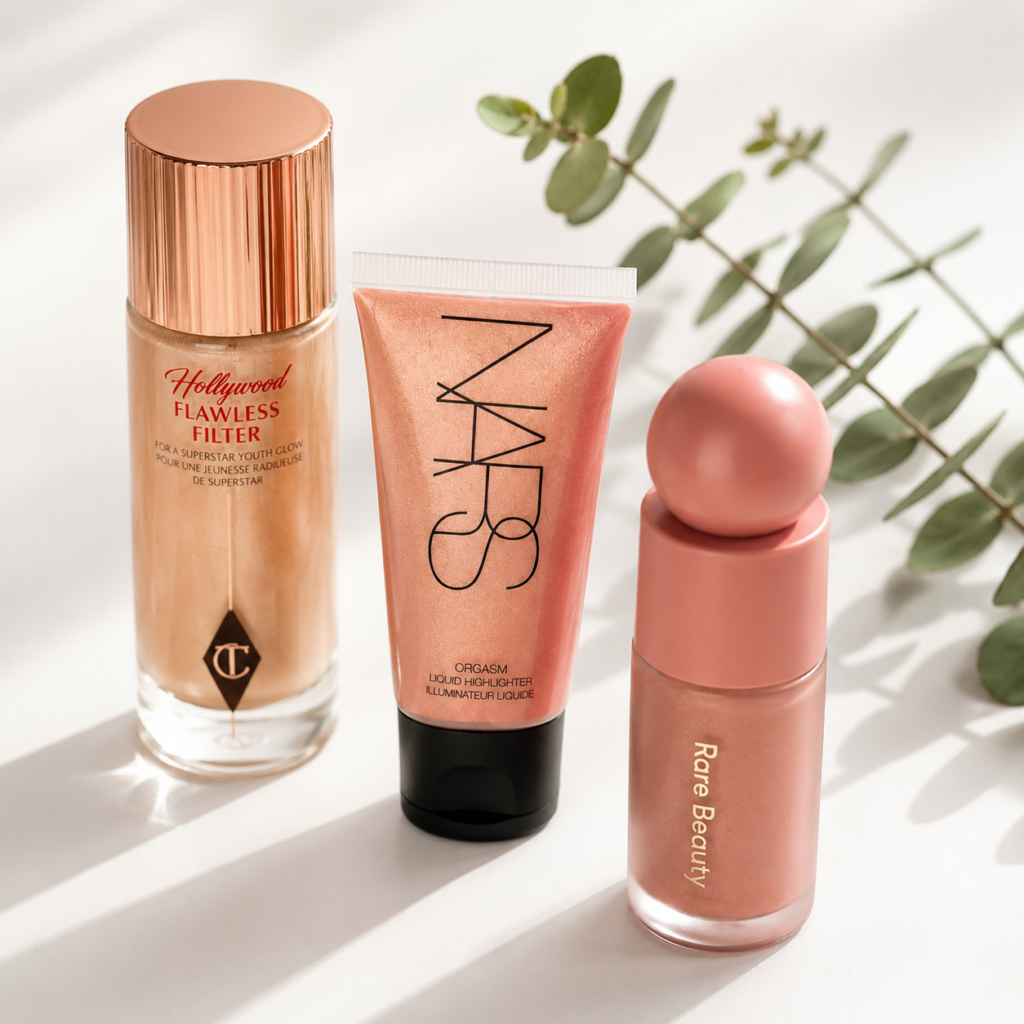
Comparing 3 Top Highlighters
| Product | Coverage & Finish | Skin-Loving Ingredients | Best For |
|---|---|---|---|
| Charlotte Tilbury Hollywood Flawless Filter | Sheer-to-medium, blurred skin-finish glow | Hyaluronic acid, glycerin, vitamin E | Dry to normal skin, everyday wear |
| NARS Orgasm Liquid Highlighter | Buildable, peach-gold shimmer with fine particles | Vitamin C derivative, light-diffusing pearls | Medium skin tones, medium-to-full coverage looks |
| Rare Beauty Positive Light Liquid Luminizer | High-impact, mirror-like finish | Vitamin E, jojoba oil, reflective mica | Oily to combination skin, evening looks |
Frequently Asked Questions
Does highlighter go on before or after setting powder?
After, always. Setting powder locks your base, and highlighter applied on top of it sits cleanly without mixing into your foundation. However, if you’re using a liquid or cream highlighter, apply it directly after your foundation and before any powder. Most people mix up this order, and it shows.
Where should you NOT put highlighter?
Avoid the sides of the nose, the center of the forehead if it’s naturally oily, and any area with visible texture or open pores. Highlighter draws light forward, which means it also draws the eye to whatever is underneath it. Therefore, stick to genuinely smooth, flat high points of the face only.
Can people with oily skin wear highlighter?
Yes, with the right formula. Powder highlighters with finely-milled mica particles tend to perform better on oily skin because they don’t add additional slip or oil. In addition, applying a thin layer of translucent setting powder underneath the highlighter first creates a drier base for it to grip.
How do I make highlighter last all day?
Press it in firmly rather than sweeping it on. Layering a powder highlighter over a liquid version of the same shade also extends wear significantly, I tested this combination last winter and noticed my highlight was still visible after six hours without touch-ups. Furthermore, setting the whole face lightly with a fixing spray helps seal everything in.
What I’d Recommend
Most highlighter mistakes come down to placement and product load, go smaller, go higher, and go lighter than you think you need. I genuinely disagree with the popular advice to match your highlighter shade to your skin tone; a shade one step warmer than your natural tone almost always reads more believably as a glow than a perfect match does. Start with a liquid formula on clean, moisturized skin and build from there, you can always add more, but you can’t un-sparkle once you’ve gone too far. Pin this for your next makeup day.