
If you’ve ever wondered how to push back cuticles safely at home, you’re not alone. Done right, it makes your nails look cleaner, longer, and more polished—without needing a salon visit. But doing it the wrong way can lead to irritation, damage, or even infection.
Let’s walk through a simple, safe method that actually works—plus the tools and mistakes you need to know.
What Are Cuticles & Why They Matter for Nail Health
Your cuticles (technically called the eponychium) act as a protective barrier between your nail and skin. They help prevent bacteria from entering the nail bed.
That’s why:
- You should never aggressively cut live cuticle
- Gentle care is key for healthy nail growth
Why Pushing Back Cuticles Makes Your Nails Look Better
Learning how to push back cuticles properly can:
- Make nails appear longer and cleaner
- Help nail polish apply smoothly and last longer
- Improve your overall manicure routine
It’s a small step that makes a big visual difference.
What You Need Before You Start (Tools + Prep)
Before you start, gather the right tools. This makes the process easier and safer.
- Cuticle pusher
- Cuticle remover or warm water soak
- Nourishing oil
- Soft towel + buffer
Using proper tools helps you push back cuticles without pain and avoid damage.
How to Push Back Cuticles (Step-by-Step Guide)
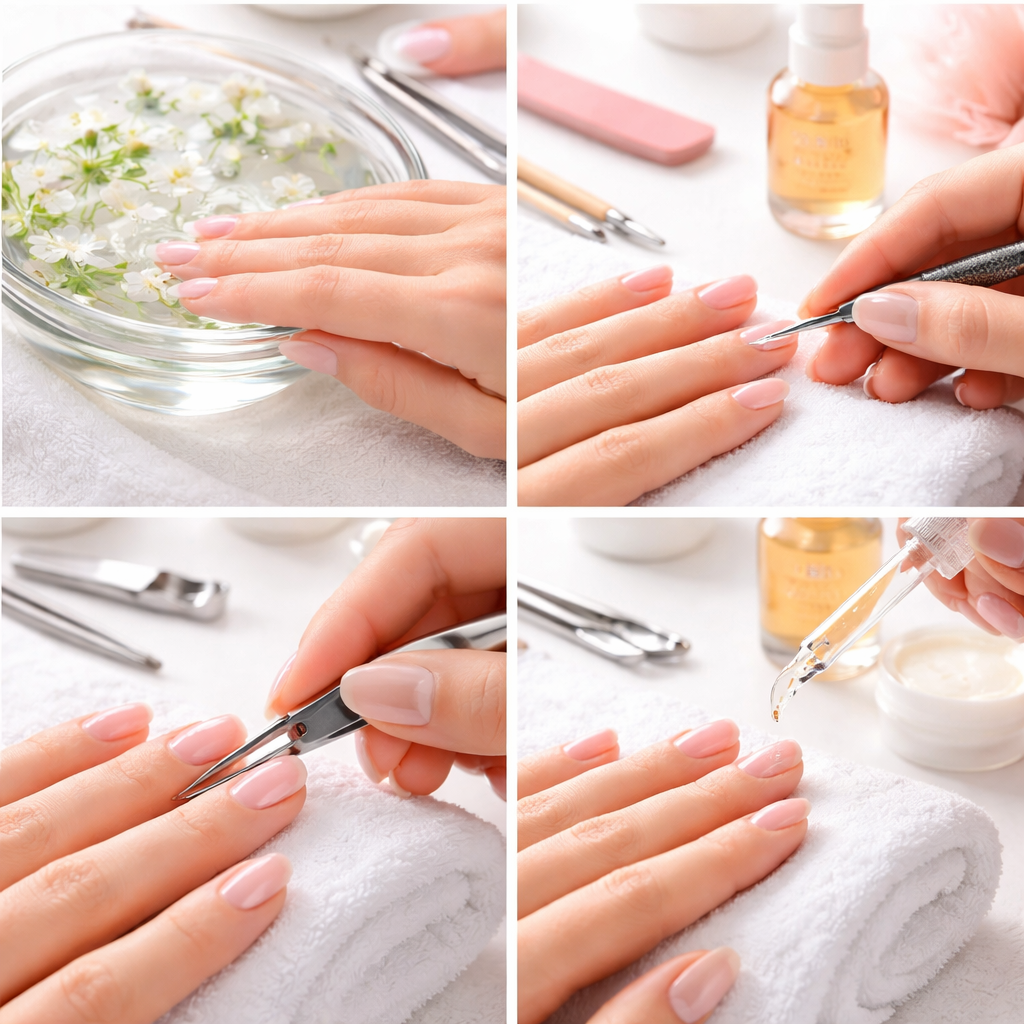
Step 1 – Soften Your Cuticles Properly
This is the most important step.
- Soak nails in warm water for 5–10 minutes
OR - Apply a cuticle remover
Softening helps you push back cuticles safely at home without tearing the skin.
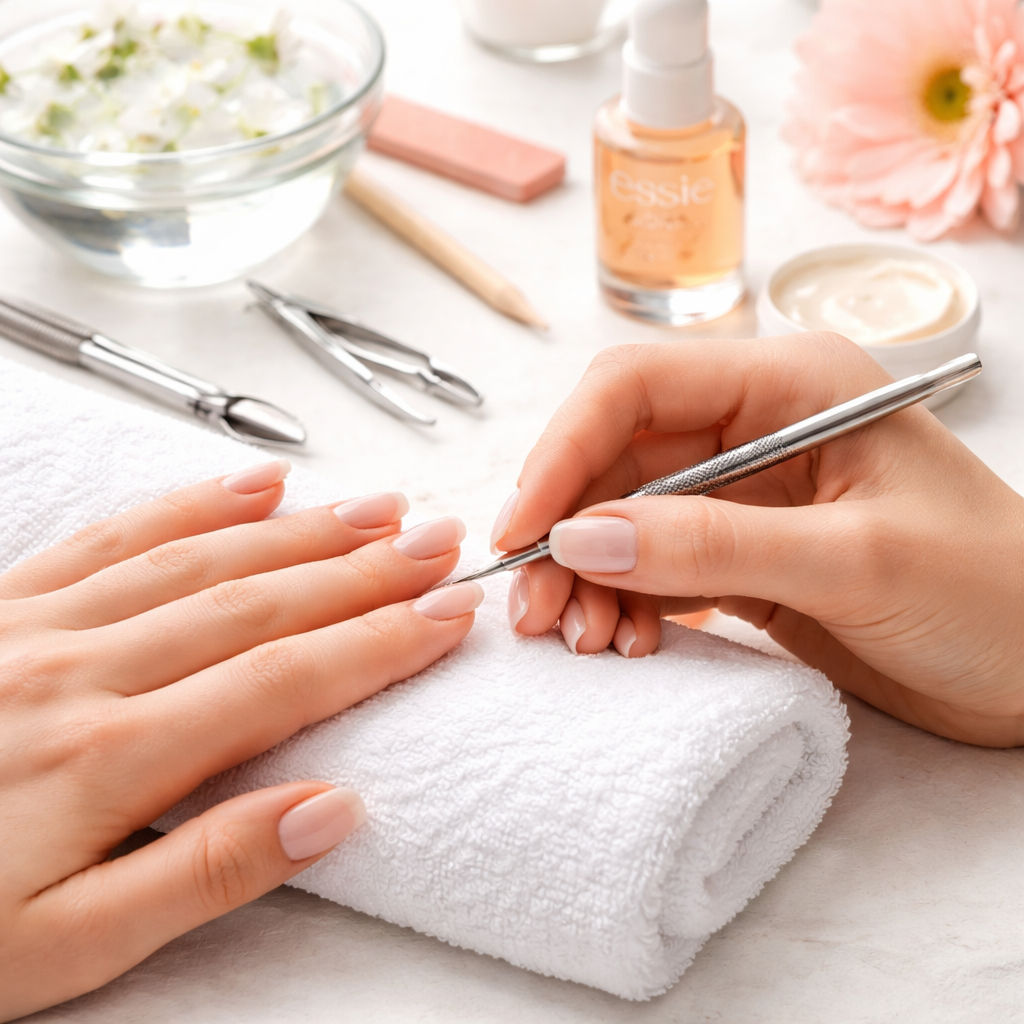
Step 2 – Gently Push Back the Cuticle
Take your cuticle pusher and:
- Hold it at a slight angle
- Apply very gentle pressure
- Move in small circular motions
This is how you push back cuticles without hurting yourself
Step 3 – Remove Excess Dead Skin (Optional)
If there’s loose dead skin, you can carefully trim it—but avoid cutting live skin.
Step 4 – Hydrate and Seal with Oil
Finish with a nourishing oil to:
- Prevent dryness
- Support nail health
- Keep cuticles soft
Mistakes to Avoid When Pushing Back Cuticles
Many people damage their nails without realizing it.
Avoid these common mistakes:
- Pushing dry cuticles (causes tearing)
- Using too much force
- Cutting too deeply
- Skipping hydration after
These mistakes can lead to peeling skin around nails and irritation.
Is It Safe to Push Back Cuticles? (What Experts Say)
Yes—when done correctly.
It becomes unsafe when:
- You push too hard
- Use dirty tools
- Skip the softening step
If done gently, it’s a safe part of your cuticle care routine.
How Often Should You Push Back Your Cuticles?
For most people:
- Once a week or every two weeks is enough
Overdoing it can damage the natural barrier and affect nail growth.
Aftercare Routine for Healthy, Strong Nails
Healthy nails don’t stop at pushing cuticles.
Build a simple routine:
- Apply cuticle oil daily
- Keep hands moisturized
- Avoid harsh chemicals
This supports long-term nail hydration and strength.
Signs Your Cuticles Are Damaged (And How to Fix Them)
Watch for these signs:
- Redness or pain
- Cracked or peeling skin
- Overgrown cuticles
How to fix:
- Stop pushing for a few days
- Use oil regularly
- Avoid trimming
This helps restore your cuticle maintenance routine.
Who Should Avoid Pushing Back Cuticles
Skip this step if you have:
- Infections or swelling
- Very sensitive skin
- Open cuts around nails
In these cases, focus on healing first.
Quick At-Home Nail Care Routine (Weekly Reset)
Here’s a simple routine you can follow:
- Soak nails
- Push back cuticles gently
- Trim only dead skin
- Apply oil
- Moisturize hands
This keeps your nails looking clean without overdoing it.
Final Thoughts
Learning how to push back cuticles safely is one of the easiest ways to upgrade your nail care routine. The key is to stay gentle, use the right tools, and never skip hydration.
Keep it simple, stay consistent, and your nails will naturally look healthier and more polished over time.