
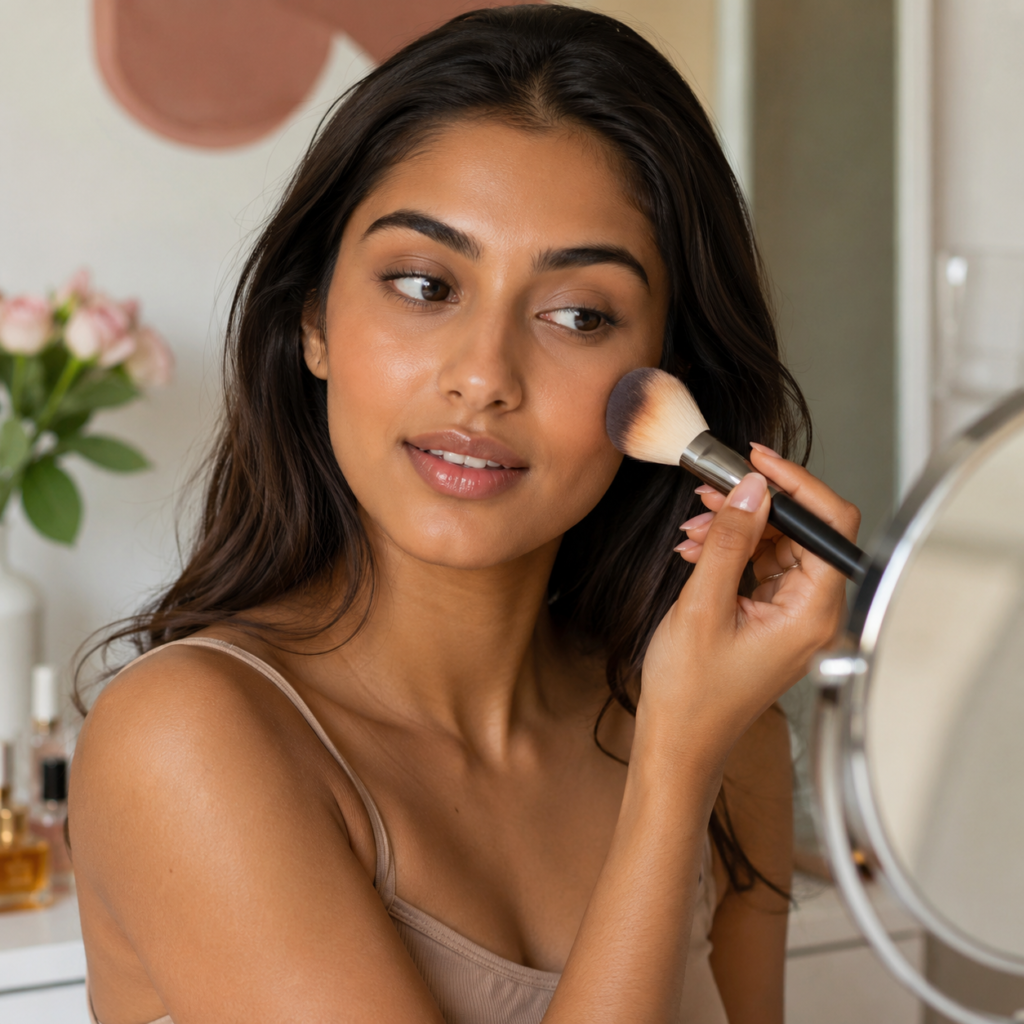
If you’re wondering how to apply bronzer for a natural glow, you’re not alone. Bronzer looks easy to use, but it’s one of the makeup products people struggle with most. Many beauty lovers sweep it across their face expecting a sun-kissed finish, only to end up with makeup that looks patchy, muddy, or too orange. The good news is that the right placement, shade, and blending technique can make a huge difference. Once you understand how bronzer works and where it should go, creating a warm, natural-looking complexion becomes much easier.
The good news is that learning how to apply bronzer correctly isn’t difficult. A few small adjustments in placement, shade selection, and blending technique can completely change the result. Whether you’re a beginner building your first makeup routine or someone trying to perfect a natural bronzed look, this guide will show you exactly where bronzer goes, how to use bronzer properly, and how to avoid the mistakes that makeup artists notice instantly.
Why Bronzer Looks Amazing on Some People and Terrible on Others
The difference usually comes down to three things:
- Placement
- Shade selection
- Formula choice
Many people apply bronzer everywhere on the face, thinking more product creates more glow. In reality, bronzer should mimic where the sun naturally hits your skin.
Another common issue is choosing the wrong shade. A bronzer that’s too orange or too dark can make even flawless makeup look unnatural. The right bronzer should add warmth rather than obvious color.
Finally, not every formula works for every skin type. Powder bronzer, cream bronzer, and liquid bronzer all create different finishes.
Understanding Bronzer Before You Apply It
What Does Bronzer Do?
Bronzer adds warmth and dimension to the face. It helps create a healthy, sun-kissed glow without spending hours in the sun.
Unlike blush, which adds color to the cheeks, bronzer creates the appearance of naturally warmed skin.
Bronzer vs Contour
One of the biggest beginner mistakes is confusing bronzer with contour.
Bronzer:
- Adds warmth
- Creates a sun-kissed look
- Usually has warm or neutral undertones
Contour:
- Creates shadows
- Defines facial structure
- Usually has cool undertones
If you’ve ever wondered why your bronzer looks muddy, you may actually be trying to contour with it.
Warmth vs Shadow
Think of bronzer as sunlight and contour as shadow.
Bronzer brings life and warmth to the face. Contour creates depth and definition.
Most everyday makeup routines benefit from bronzer even when contour isn’t used.
The Easiest Way to Apply Bronzer Correctly
If you’re learning how to apply bronzer for beginners, follow this simple step-by-step method.
Step 1: Start With Your Hairline
Lightly sweep bronzer around the forehead and temples. This mimics natural sun exposure and creates a seamless transition between your face and hairline.
Step 2: Add Warmth to the Cheeks
Apply bronzer slightly above the cheekbones rather than directly underneath them.
Step 3: Lightly Sweep Across the Nose
A tiny amount across the bridge of the nose can create a naturally sun-kissed effect.
Step 4: Blend Around the Face Perimeter
Finish by blending around the jawline and outer edges of the face.
Step 5: Blend Thoroughly
The secret to a natural bronzed look is blending. Harsh lines are the fastest way to make bronzer appear obvious.
A fluffy brush distributes product evenly and makes blending much easier.
How Makeup Artists Choose Bronzer Shades
Understanding Undertones
Your undertone plays a huge role in how bronzer appears on the skin.
- Warm undertones generally suit golden bronzers.
- Neutral undertones work well with balanced shades.
- Cool undertones often look best with bronzers that aren’t overly orange.
Bronzer for Fair Skin
Choose lighter bronzers with neutral or soft golden tones. Dark shades can quickly look unnatural.
Bronzer for Medium Skin
Medium skin tones can usually wear warm golden bronzers comfortably.
Bronzer for Deep Skin
Rich caramel, chocolate, and warm terracotta bronzers often create the most natural effect.
Avoiding Orange Tones
A good rule is to choose a bronzer only one or two shades deeper than your skin tone.
Which Bronzer Formula Should You Use?
Powder Bronzer
Best for:
- Oily skin
- Combination skin
- Beginners
Powder bronzer is easy to control and blend.
Cream Bronzer
Best for:
- Dry skin
- Mature skin
- Natural makeup looks
Cream formulas often melt into the skin for a softer finish.
Liquid Bronzer
Best for:
- Dewy makeup lovers
- Lightweight coverage
- Glowy complexions
Stick Bronzer
Best for:
- Travel
- Quick application
- Busy mornings
Choose a buildable formula that allows gradual application rather than intense pigmentation.
Bronzer Placement Maps for Every Face Shape
Round Face
Focus bronzer on the outer edges of the face and temples to create subtle definition.
Oval Face
An oval face can typically follow standard bronzer placement around the forehead, cheeks, and jawline.
Square Face
Soften strong angles by concentrating bronzer around the temples and jawline.
Heart-Shaped Face
Apply bronzer around the forehead and blend softly toward the cheeks to create balance.
Bronzer Placement Maps for Every Age Group
Most competitors completely ignore this topic, but placement often changes with age.
Teens and Young Adults
A light sun-kissed glow usually looks fresh and natural.
30s
Focus on enhancing warmth while keeping application soft and blended.
40s
Heavy powder products can sometimes emphasize texture. Cream bronzer often provides a smoother appearance.
50+
Less is usually more. Strategic placement around the temples and upper cheeks creates warmth without overwhelming the skin.
7 Bronzer Mistakes Makeup Artists Notice Instantly
1. Applying Bronzer Everywhere
Bronzer should not cover the entire face.
2. Using the Wrong Brush
Dense brushes can deposit too much product.
3. Choosing a Shade That’s Too Dark
This often creates an unnatural appearance.
4. Not Blending Enough
Patchy bronzer immediately draws attention.
5. Ignoring Neck Color
Your face and neck should look cohesive.
6. Using Bronzer as Contour
Warmth and shadow serve different purposes.
7. Applying Too Much Product at Once
Build gradually instead.
How to Make Bronzer Look Natural in Photos
Many people love their makeup in the mirror but dislike how it looks in pictures.
Flash Photography
Strong flash can exaggerate heavy bronzer.
Outdoor Photos
Natural light reveals uneven blending quickly.
Wedding and Event Makeup
Build color slowly and check your makeup in multiple lighting conditions.
Selfies and Social Media
A natural bronzer application often photographs better than a dramatic one.
The 5-Minute Bronzer Routine for Busy Mornings
When time is limited, focus on three areas:
- Temples
- Upper cheeks
- Nose bridge
Blend thoroughly and you’re done.
This quick routine creates warmth without requiring a full contouring session.
Good lighting helps prevent over-application and ensures bronzer looks natural before leaving the house.
Frequently Asked Questions
Should Bronzer Be Darker Than Foundation?
Yes, but only slightly. One to two shades deeper is usually enough.
Can I Use Bronzer Without Blush?
Absolutely. Bronzer alone can create a healthy, natural glow.
Is Cream Bronzer Better Than Powder?
Neither is universally better. The best option depends on your skin type and desired finish.
Why Does My Bronzer Look Patchy?
Patchiness usually comes from poor blending, dry skin, or too much product.
What Is the Best Bronzer for Beginners?
A buildable powder bronzer paired with a fluffy brush is often the easiest option for beginners.
Final Thoughts
Learning how to apply bronzer correctly is less about following strict rules and more about understanding your face, skin tone, and personal makeup style. The goal isn’t to make it obvious you’re wearing bronzer. The goal is to create warmth, dimension, and a healthy glow that looks effortless.
Start with a light hand, choose a shade that complements your skin tone, and focus on blending. Once you master those basics, achieving a natural sun-kissed glow becomes surprisingly easy.